When you are growing your own microgreens, there are several things that you need to remember. Keep in mind that these plants need a pH of between 5.5 and 6.5. First, ensure your growing pad has been saturated. Then, mist it ten more times before you sprinkle the seeds. After this, sprinkle the seeds onto the growing pads. For smaller varieties, you can use only 2 tablespoons or 1/4 cup of dry seed.
You can learn how to grow microgreens from scratch once you have some knowledge. Ted Chang shows you how he grows his microgreens with punnets made out of recycled strawberry liners. They don't require a lot of space or a green thumb. Even your kitchen window sills could be used! However, they should not grow rapidly. If in doubt, you can experiment with different types.
The nutrient mixture must provide enough nutrients to the plants. You must make sure that the nutrient mix contains all of the micronutrients required for microgreens growth. Microgreens can grow best in trays that are designed for this purpose. You can also use a mat to grow microgreens if you don't feel comfortable handling containers. You don't have to use any heavy soil to grow microgreens. Instead, you can just cover the pots in plastic wrap to keep them damp.
This guide will help you make it easy to grow your own Microgreens. You can harvest your microgreens in about 10 to 14 working days. But some varieties may be ready much sooner. It's best to keep the growing tray as cool and dry as possible. If you're using a compostable tray, you can leave the trays out of the light for the first few days. You can also keep microgreens cool in the refrigerator.
Easy and safe way to grow microgreens at home. Microgreens provide all the nutrients your body needs for good health. You can grow them right from your window or on your rooftop. The process is simple. If you don't feel confident in your greens' growth capabilities, you can hire professionals to assist you. You will be rewarded, with nutritious and delicious microgreens that can be added to your diet.
These microgreens are extremely portable and nutritious. They are small and compact, making them ideal food to pack in lunches. If you're looking for a quick and easy way to get your daily serving of fresh vegetables, microgreens are a great way to start. Be sure to choose healthy seeds and follow the instructions on the packet. Enjoy your new crop! Even if you aren't growing microgreens, it might be worth starting a business that grows these healthy crops. You may find this a profitable startup business!
You can make a living by microgreens farming, no matter your age. Not only will your microgreens grow in a few days, but you'll make a few bucks along the way. Some of the most well-known microgreen crops are: arugula; basil; celery; cabbage, endive. radish. Microgreens are an excellent way to make a living as a retired person. You can also plant your own heirlooms.
FAQ
What is the maximum time I can keep an indoor plant alive for?
Indoor plants can live for many years. However, it's important to repot your plant every few months to help promote new growth. Repotting is simple. Just remove the old soil, and then add fresh compost.
What kind of lighting works best for growing plants indoors?
Because they emit less heat that incandescents, floriescent lights are a good choice for growing indoor plants. They also provide consistent lighting without flickering or dimming. Fluorescent bulbs come in both compact fluorescent (CFL) and regular varieties. CFLs can use up to 75% more energy than traditional bulbs.
Does my backyard have enough room for a vegetable garden?
If you don’t yet have a vegetable gardening, you might wonder if it will be possible. The answer is yes. A vegetable garden doesn't take up much space at all. It only takes some planning. For example, you can build raised beds just 6 inches high. Or you can use containers to build raised beds. You'll still be able to get plenty of produce in any way.
What is a planting schedule?
A planting calendar is a list that lists plants that should be planted at specific times throughout the year. The goal is for plants to grow at their best while minimizing stress. Early spring crops like spinach, lettuce, and peas must be sow after the last frost date. Cucumbers, squash, and spring beans are later crops. The fall crops include potatoes and carrots.
Do I need special equipment to grow vegetables in my garden?
You're not wrong. All you need is a shovel, trowel, watering can, and maybe a rake.
Statistics
- As the price of fruit and vegetables is expected to rise by 8% after Brexit, the idea of growing your own is now better than ever. (countryliving.com)
- 80% of residents spent a lifetime as large-scale farmers (or working on farms) using many chemicals believed to be cancerous today. (acountrygirlslife.com)
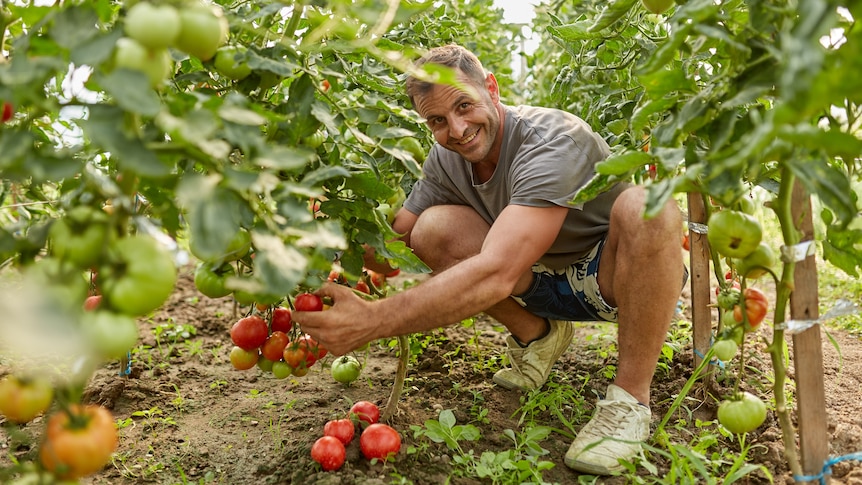
- Most tomatoes and peppers will take 6-8 weeks to reach transplant size so plan according to your climate! - ufseeds.com
- Today, 80 percent of all corn grown in North America is from GMO seed that is planted and sprayed with Roundup. - parkseed.com
External Links
How To
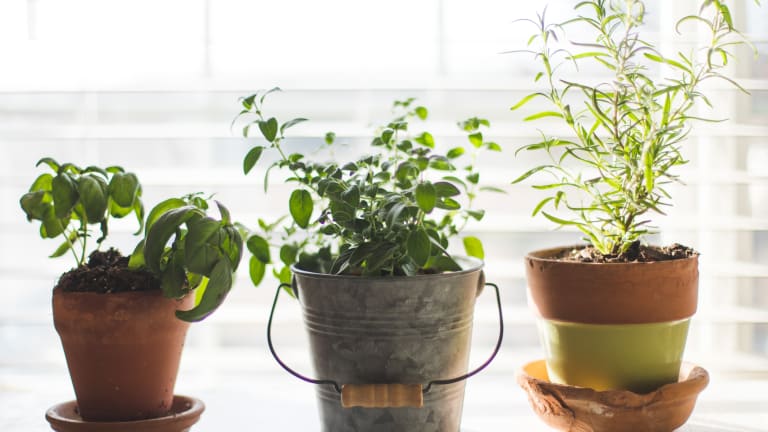
How to grow basil
Basil is one herb you can use to make many different dishes in your kitchen. Basil is great for flavoring foods, including soups, sauces and pastas. These are some helpful tips to help you grow basil indoors.
-
You should choose carefully where to place your basil. Basil is an annual plant and will only live one season if it's not in the right place. Basil is tolerant to partial shade, but it prefers full sun. If you are growing it outside, choose a spot with good air circulation.
-
Plant the seeds. Basil seeds should be planted two weeks before the last frost date. Plant the seeds in small pots that are 1/2 inch deep. The pots should be covered with clear plastic wrap. Germination usually takes about 10 days. After they have germinated move them into a cool, shaded place where the temperature stays around 70 degrees Fahrenheit.
-
Once the seedlings are big enough to handle, transplant them. Remove the plastic wrap and transplant the seedlings into larger containers. Each container should be filled with potting mix. To help remove excess moisture, add gravel or pebbles. As needed, add more potting mixture. The containers should be placed in a sunny location or under indirect lighting. Keep the plants hydrated to avoid wilting.
-
After the dangers of frost have passed, mulch the plants. This will prevent them from frost damage and help to reduce water loss.
-
Regularly water the plants. Basil needs regular watering to thrive. To determine how much water your plants require, use a rain gauge. Use a timer, which will turn off the irrigation when there is no rain.
-
Pick your basil when it reaches its prime. You can encourage bushier growth by picking the leaves more often.
-
The leaves can be dried on paper towels or screens. Keep the dried leaves in glass containers or bags in a refrigerator.